~~~~~~~~
1. Clear the land you want to use. It really helps if you have lots of land to choose from and/or the land has been in your family for decades because you can pretty much build the art studio wherever you want.

like here, for example
(not pictured: actual original location of mud brick art studio)
2. Lay the foundation and in the 3R spirit, use the felled trees as wall beams.
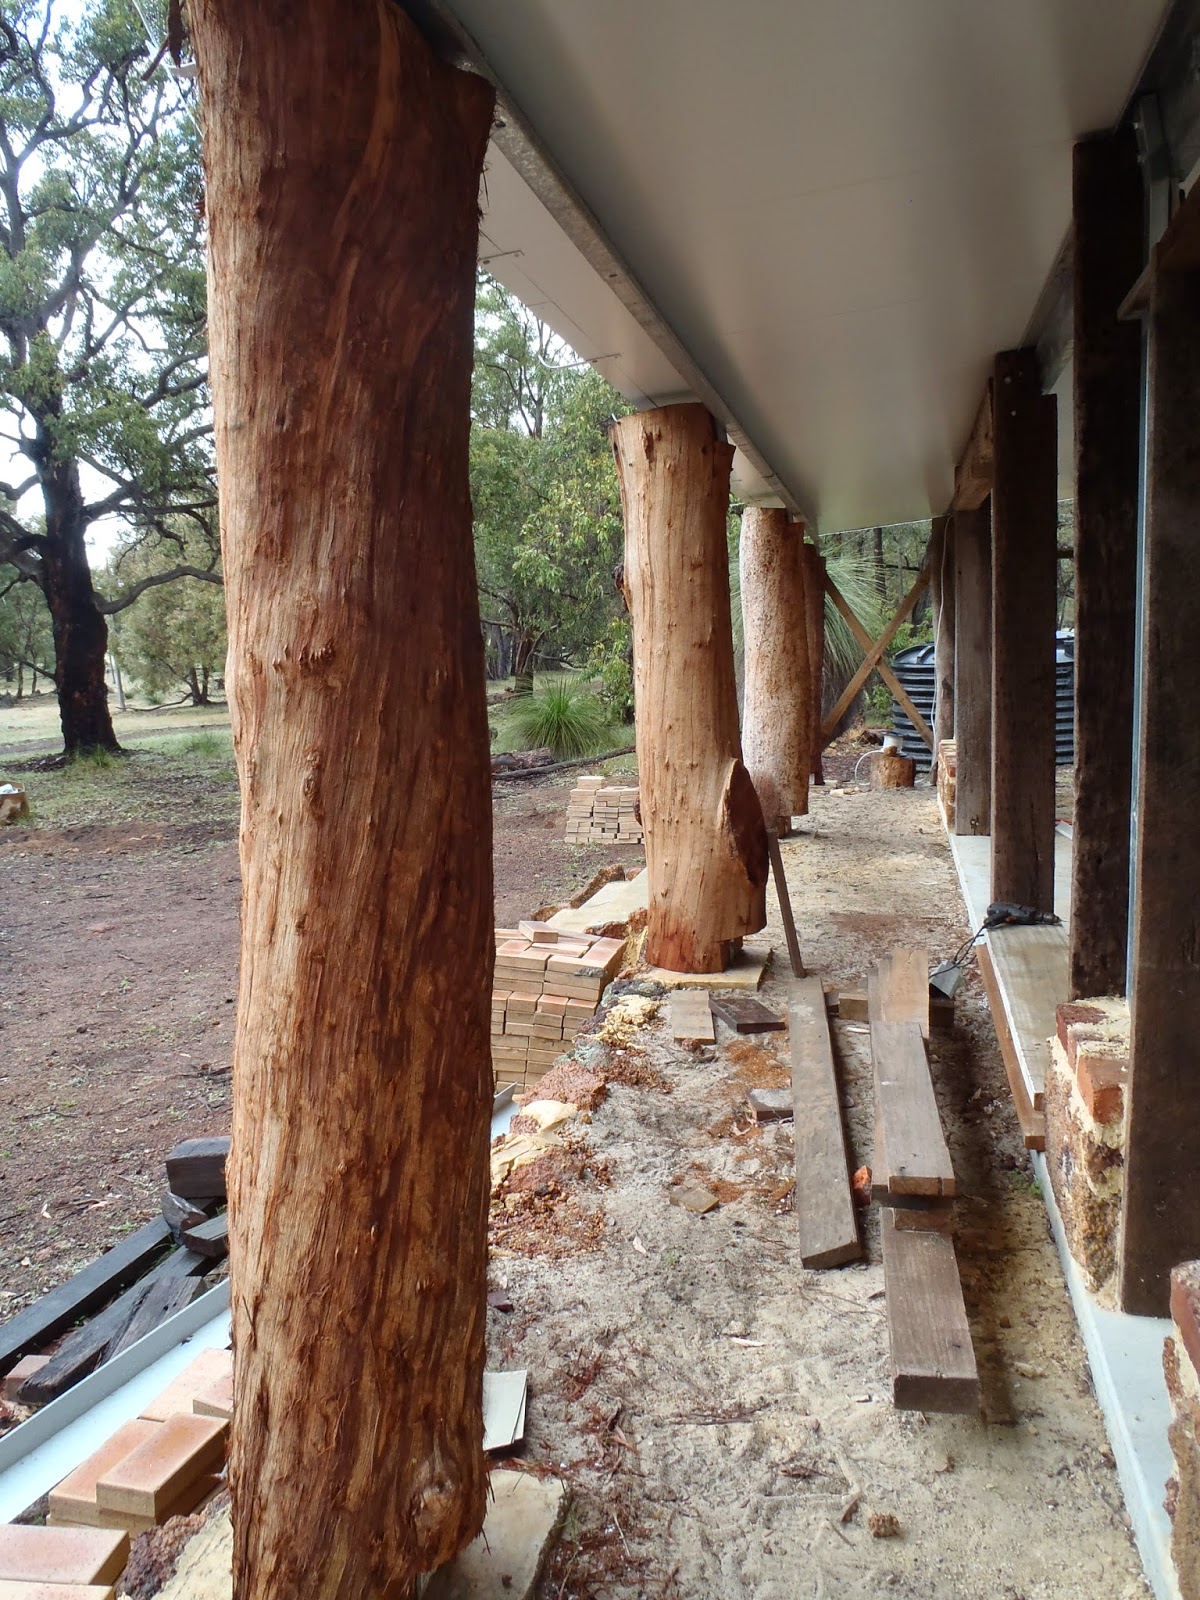
peel off bark as time permits
3. Again with the 3Rs - make a bazillion mud bricks using mud from the dam on your property and a homemade brick mold. (We hear it's best to do this work all by yourself in 45C weather... next to the dam in your swim trunks.)

make sure each mud brick weighs at least 159kg when dry
4. Come to your senses and get some WWOOFers on board! They can do the pesky hard work of sifting mud to use for mortar...

Jen, Patrick, and Rori getting the lumps out

Andrew "working hard"
5. Go back to the construction site, mix your mortar, get your setup right and start laying those bricks!

mark off the wall height and use a string to keep it straight

slap some mud mortar down and lay the bricks,
then trowel mud mortar in between the bricks for a tight seal

constantly check that everything's level

pause for funny photo ops
6. Smooth the exterior mortar so that it looks presentable. In this case, Gina called it "piping" because an actual small PVC pipe elbow was used to press the mud in tight and make those nice lines. The mortar should be firm but not dry when you "pipe."

Gina demonstrates "piping"

mud cleans up real nice
(and when it doesn't? just add water and fix!)
7. To continue with the 3R theme, find a bunch of old windows and doors. Best if they're free, have a neat story behind them, and/or don't match but still go well together. Have your WWOOFers scrape the paint off the windows and doors to give them that "rustic" look.

be sure the paint is very, very thick
and sometimes soaked into the wood just for added fun
mention your metal file and see how fast the WWOOFers run
to sharpen their scrapers
(be sure to wait until they're almost done with the frame though!)
8. Install the windows and doors in your new studio. Odd shapes and sizes don't really matter because you can just cut the mud bricks to fit around the frames. (Neat idea: old doors on their sides make really cool windows!)

oh hai!
9. Apply a thin layer of mud to the interior walls to give them a nice finished look.

Rori's masterpiece
10. Enjoy your new mud brick art studio! This one is not complete yet - our hosts aim to finish up by December. They'll offer their own art classes and also lend the space to fellow artists, musicians, and other teachers of interesting topics... such as, perhaps, eco-building?

the art studio: art itself
~~~~~~~~
Okay, some of the steps here are a bit tongue-in-cheek, and we're just kidding about Andrew goofing around - he and Gina both put in 150% every day, especially when it came to the art studio.
More on our stay with Andrew and Gina coming soon. But one final thought on the art studio... Considering the amount of care that went into every step, the thoughtful use of available materials, the energy and spirit behind the project, and the beautiful result, we have to say that this is one of the coolest projects on our WWOOF resume so far. Although we can't say we want to try making a mud brick art studio at home, we've taken away tons of 3R ideas using existing materials in everyday home projects. (Oh, and a brick pizza oven is now very high on our wish list!)
Now, if we could just figure out where "home" is...
I can't believe what I'm seeing! This is all so incredibly creative in every stage - your 3R's applied to a T!! Congratulations Gina, Andrew, and each and every WWOFer!!!
ReplyDeleteThanks for your comment, Noelene! Yep, Gina and Andrew are really an inspiration.
Deletei'll have to run this by the homeowners' association / =
ReplyDeleteNot when you build it on the 70-year old family plot in the middle of the bush in Australia...
Delete